Docs
Getting Started Guide
Welcome to Loanlytix! This guide will help you set up and navigate our loan management platform. Follow these steps to configure your system and start managing loans efficiently.
Browser Requirements
For optimal performance, we recommend using the latest version of Chrome.
- Install the PWA for app-like experience
- Ensure JavaScript is enabled
- Use a stable internet connection
Installation Recommendation
Install as a Progressive Web App (PWA) for the best experience. In Chrome:
- Click the browser menu (three dots)
- Select Install App
- Confirm installation
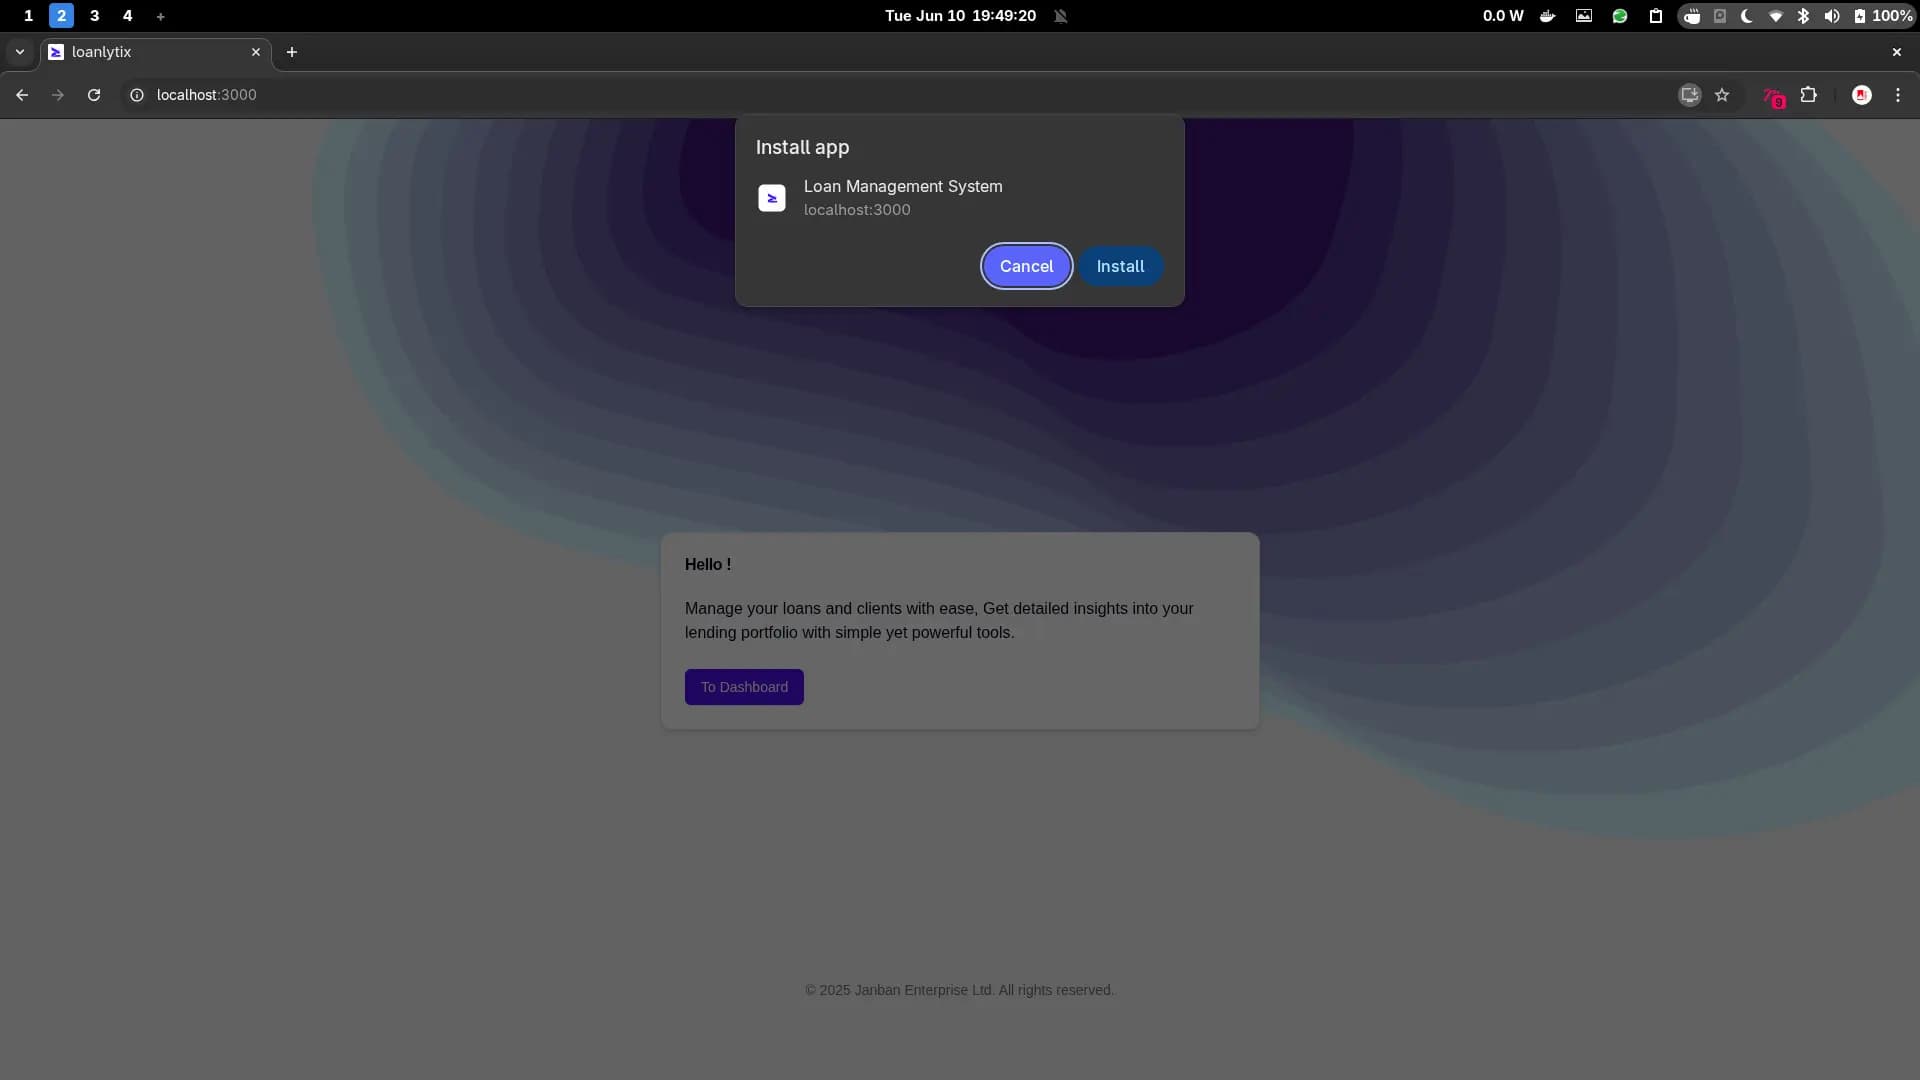
Screenshot: Installing as a Progressive Web App
Understanding System Roles
Before using the system, it is important to understand the three key roles and their permissions:
Super Admin
- Full system control
- Creates agents and admins
- Can edit/delete clients, loans, and agents
- Manages system settings
Dashboard Admin
- Operates dashboard
- Can edit entries
- Processes loans
- Cannot create agents
- Cannot delete clients/loans/agents
Agent
- Field operations only
- Enrolls clients
- Collects repayments
- No dashboard access
- Cannot modify data
Note: Basic subscriptions include one Super Admin. This is ideal for small organizations where a single administrator can manage all operations.
1. Account Registration
All users must register before accessing platform features. There are two registration methods:
Janban Enterprise Ltd Admin Accounts
User can request Support to add an account for users:
- Ideal for staff requiring immediate access
- No approval needed
- Roles assigned during creation

Admin view: Creating user accounts
Self-Registration
Users can register themselves via the login page:
- Account status: Pending approval
- Requires Support to authorization
- Notification sent to admins

User view: Registration form
Important: Self-registered accounts remain inactive until approved by support Admin.
2. System Login
After account approval, access the system using your credentials:
Login Process
- Navigate to app.loanlytix.com
- Enter your registered email
- Input your password
- Click Sign In

Login screen with credential fields
Post-Login Experience
- Redirect to personalized dashboard
- Role-based permissions applied
- Notification center appears for new alerts
3. Dashboard Overview
The dashboard is your command center, providing at-a-glance insights and quick access to key features.
Key Sections
- Loan Portfolio Summary - Active loans, repayments, defaults
- Agent Performance - Collection rates, client enrollment
- Quick Actions - Create loans, add clients, generate reports
- Notification Center - Approval requests, overdue loans
Tip: Use the dashboard to monitor critical KPIs at a glance

Dashboard with key metrics and navigation
4. Penalty Configuration
Configuring penalty settings is essential before issuing any loans. This ensures consistent application of late fees.
Setup Process
- Navigate to System Settings
- Select Penalty Configuration
- Enter percentage rate (e.g., 5%)
- Save changes
Example Calculation
1,000.ZMW loan with 5% penalty = 50.ZMW late fee

Penalty settings screen
Global Setting: This rate applies to all loans in system that have not defaulted.